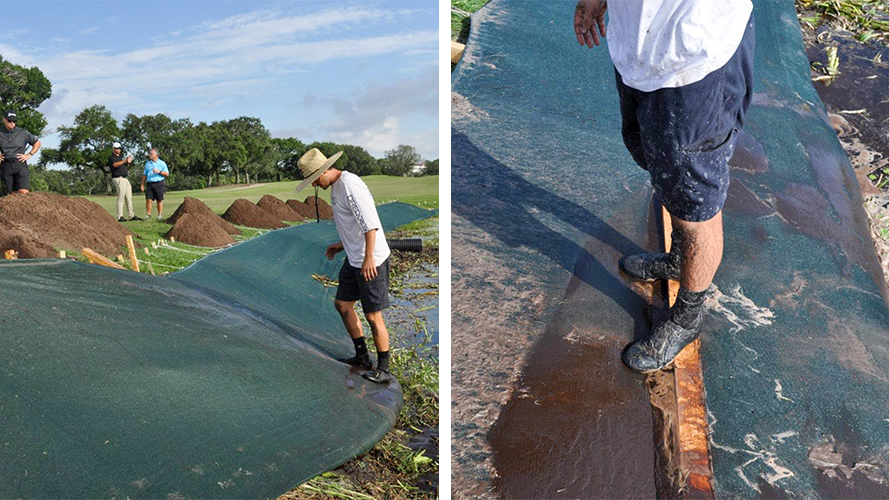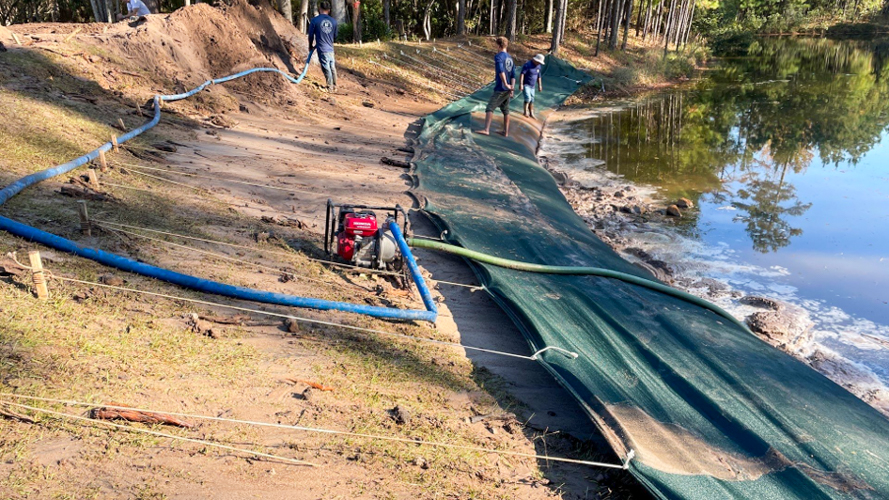
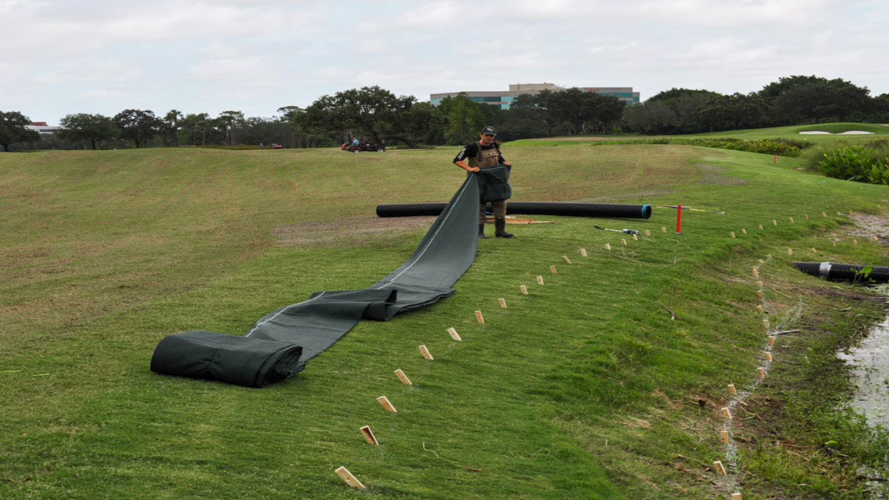
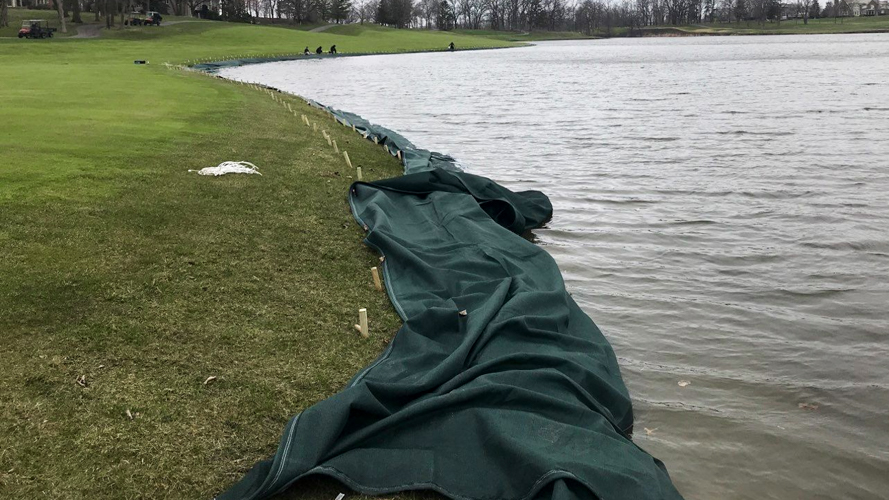
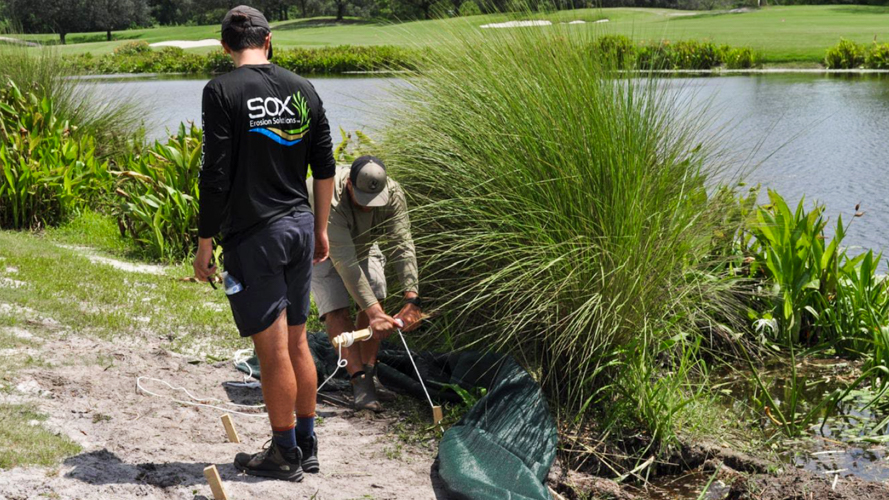
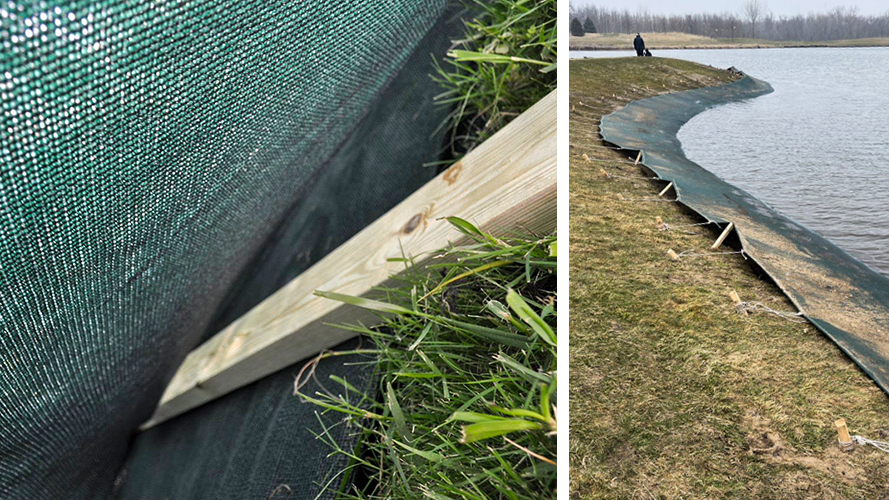
Lay out material
-
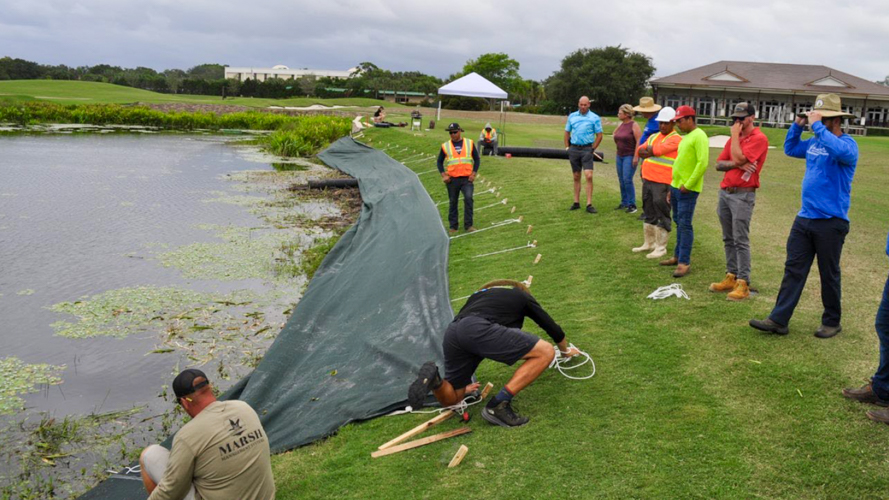
Lay Mesh upside-down in front of stakes
-
DO NOT do this step alone; the mesh is heavy!
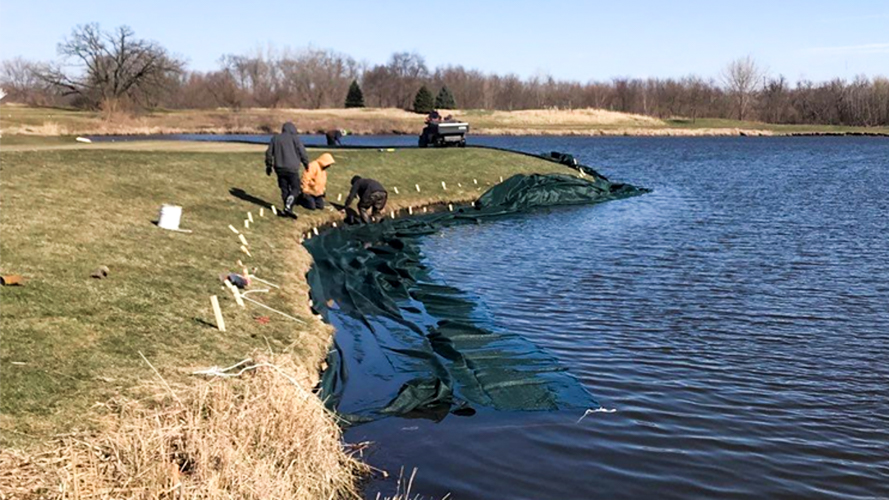

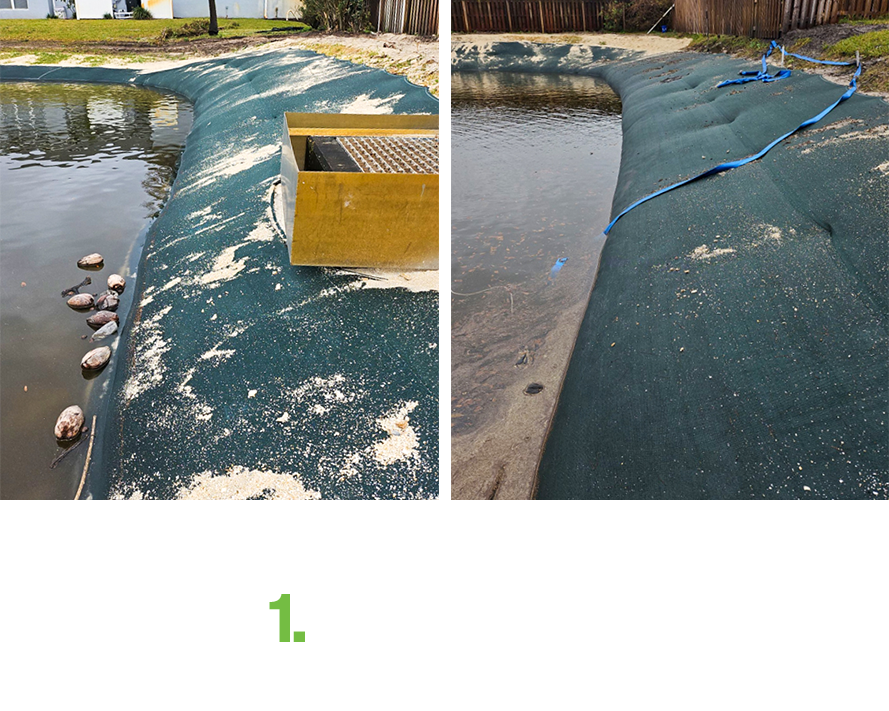
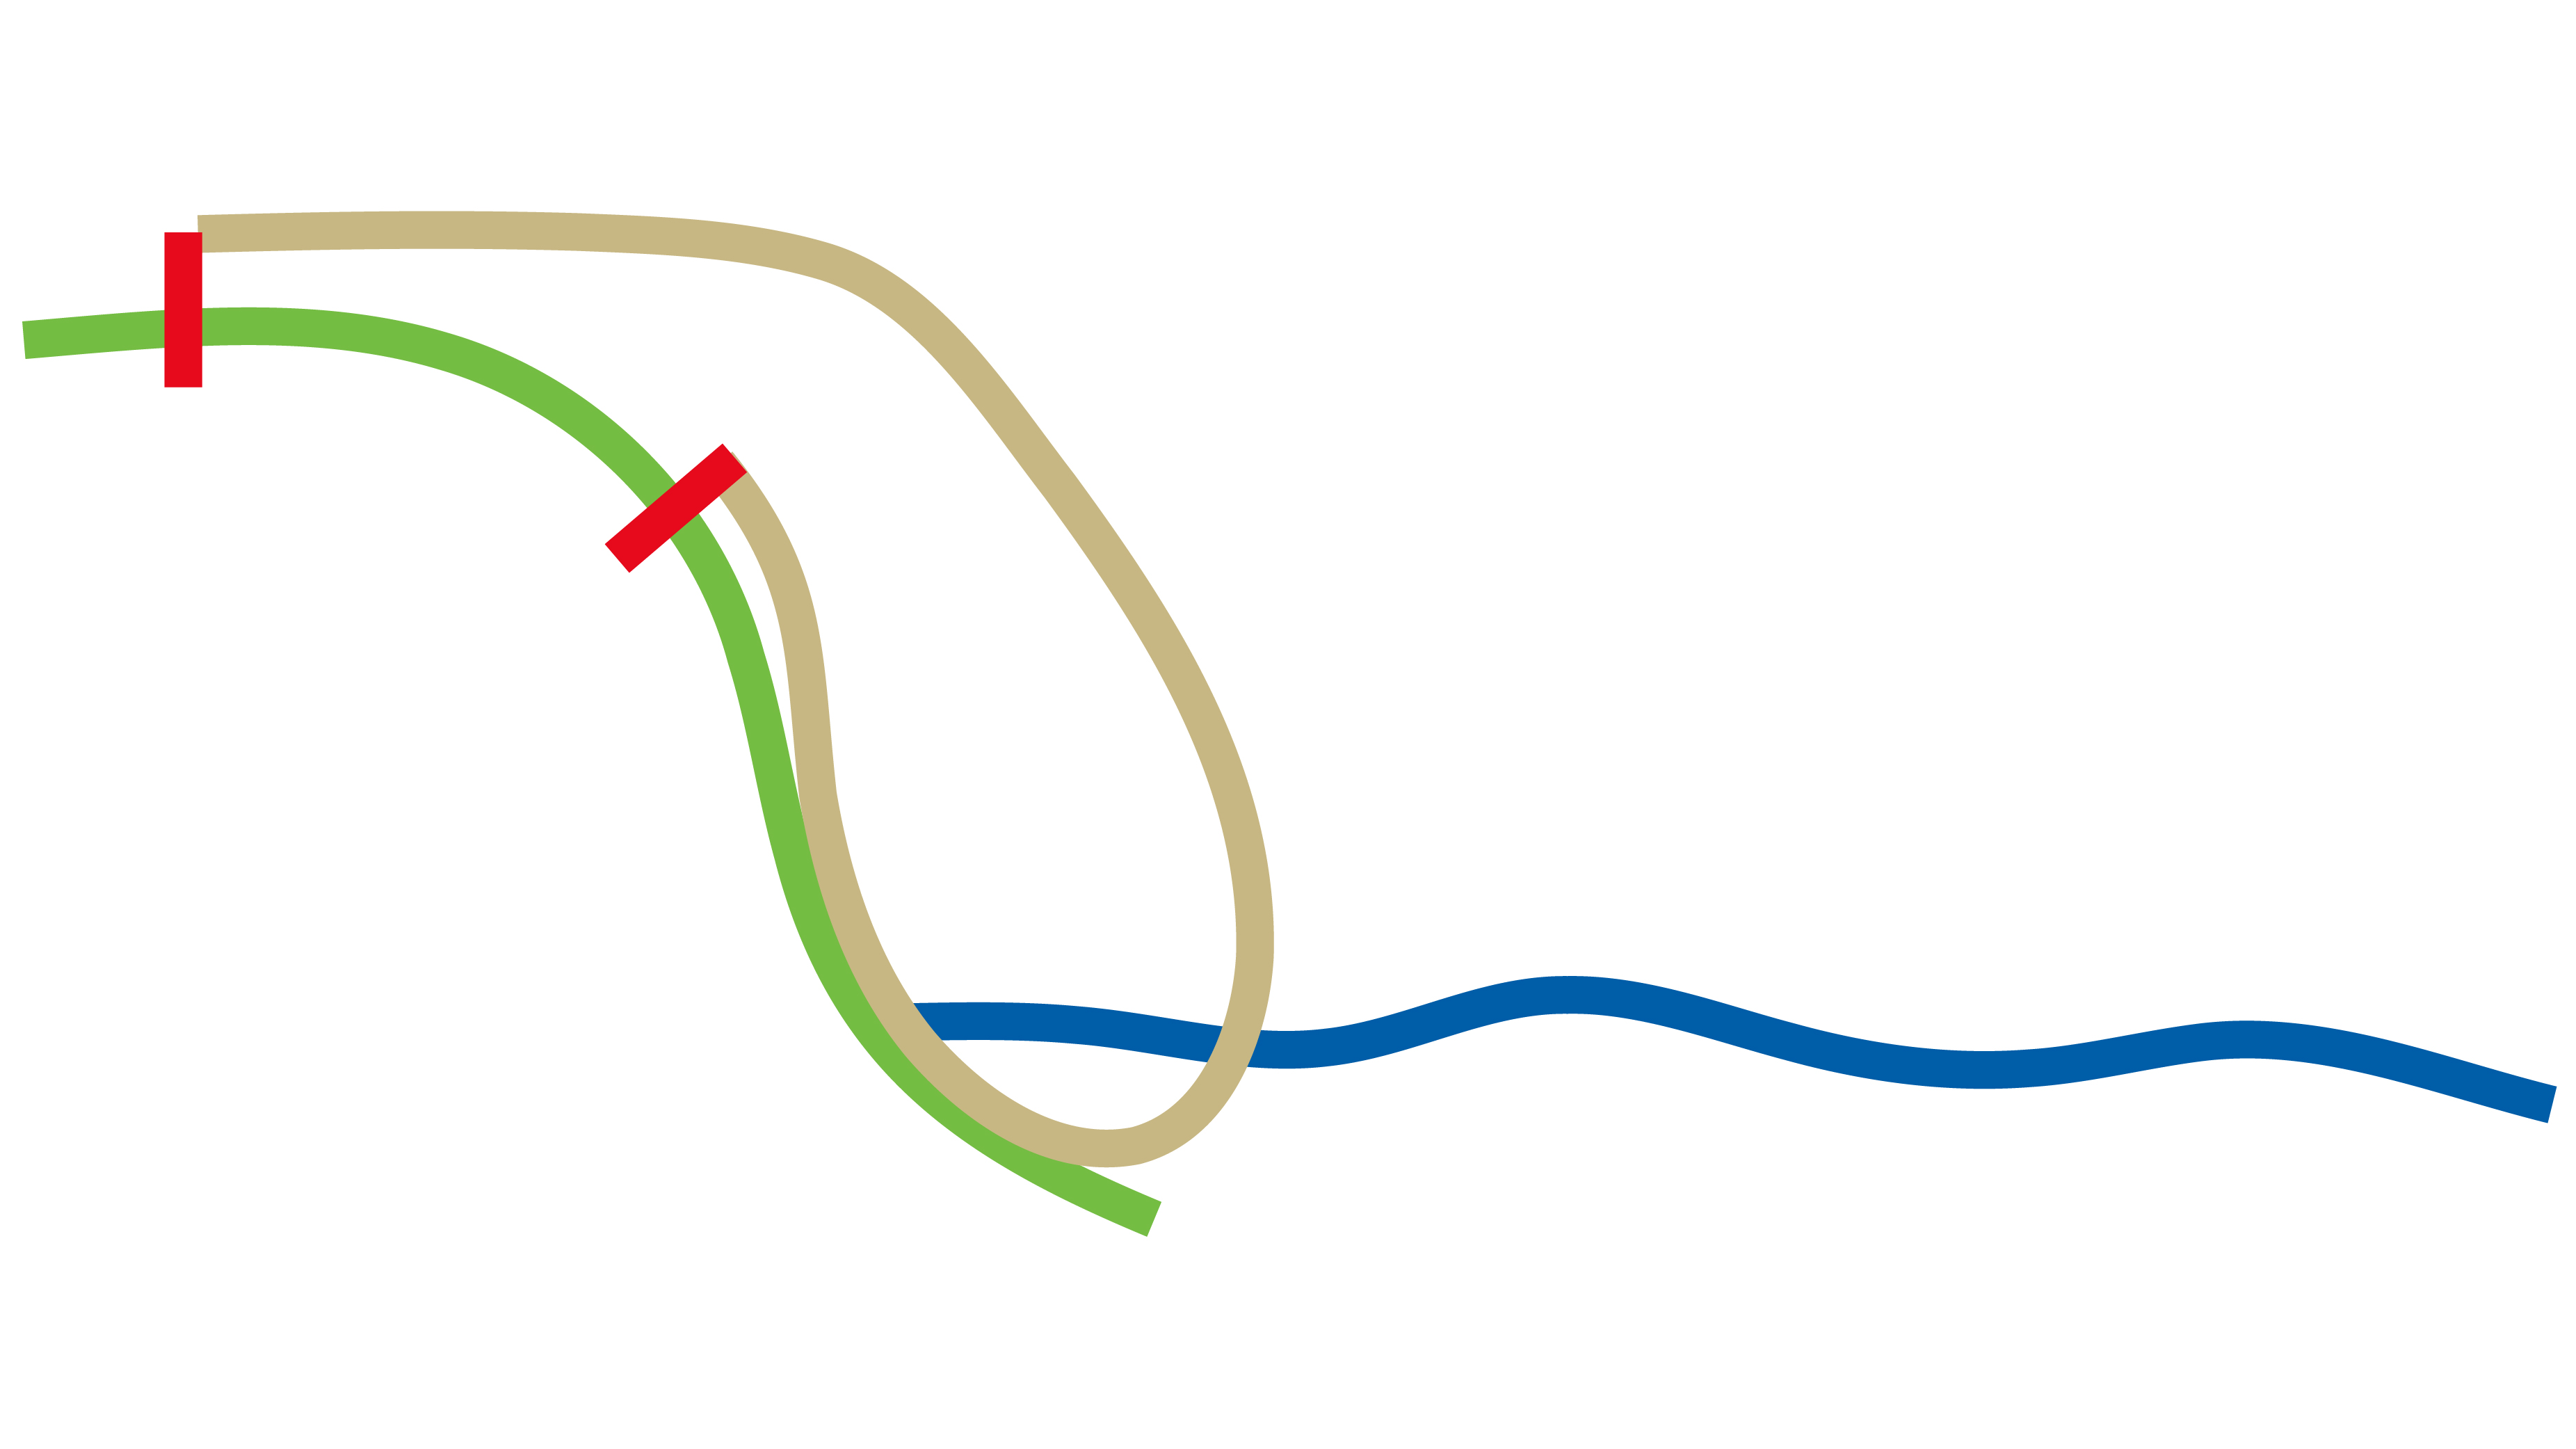
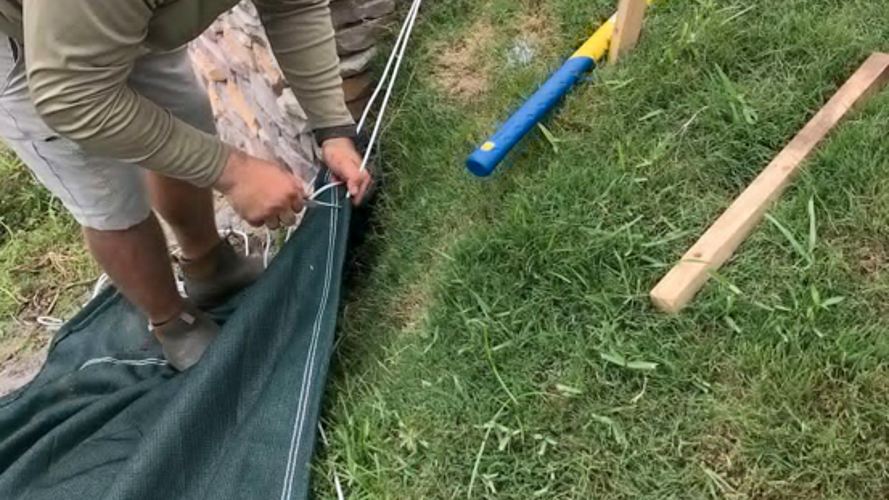
Set Bottom Rope Channel
-
Goal: Set the bottom rope channel in place while tying the least number of anchors possible.
-
Start at the 5th anchor
-
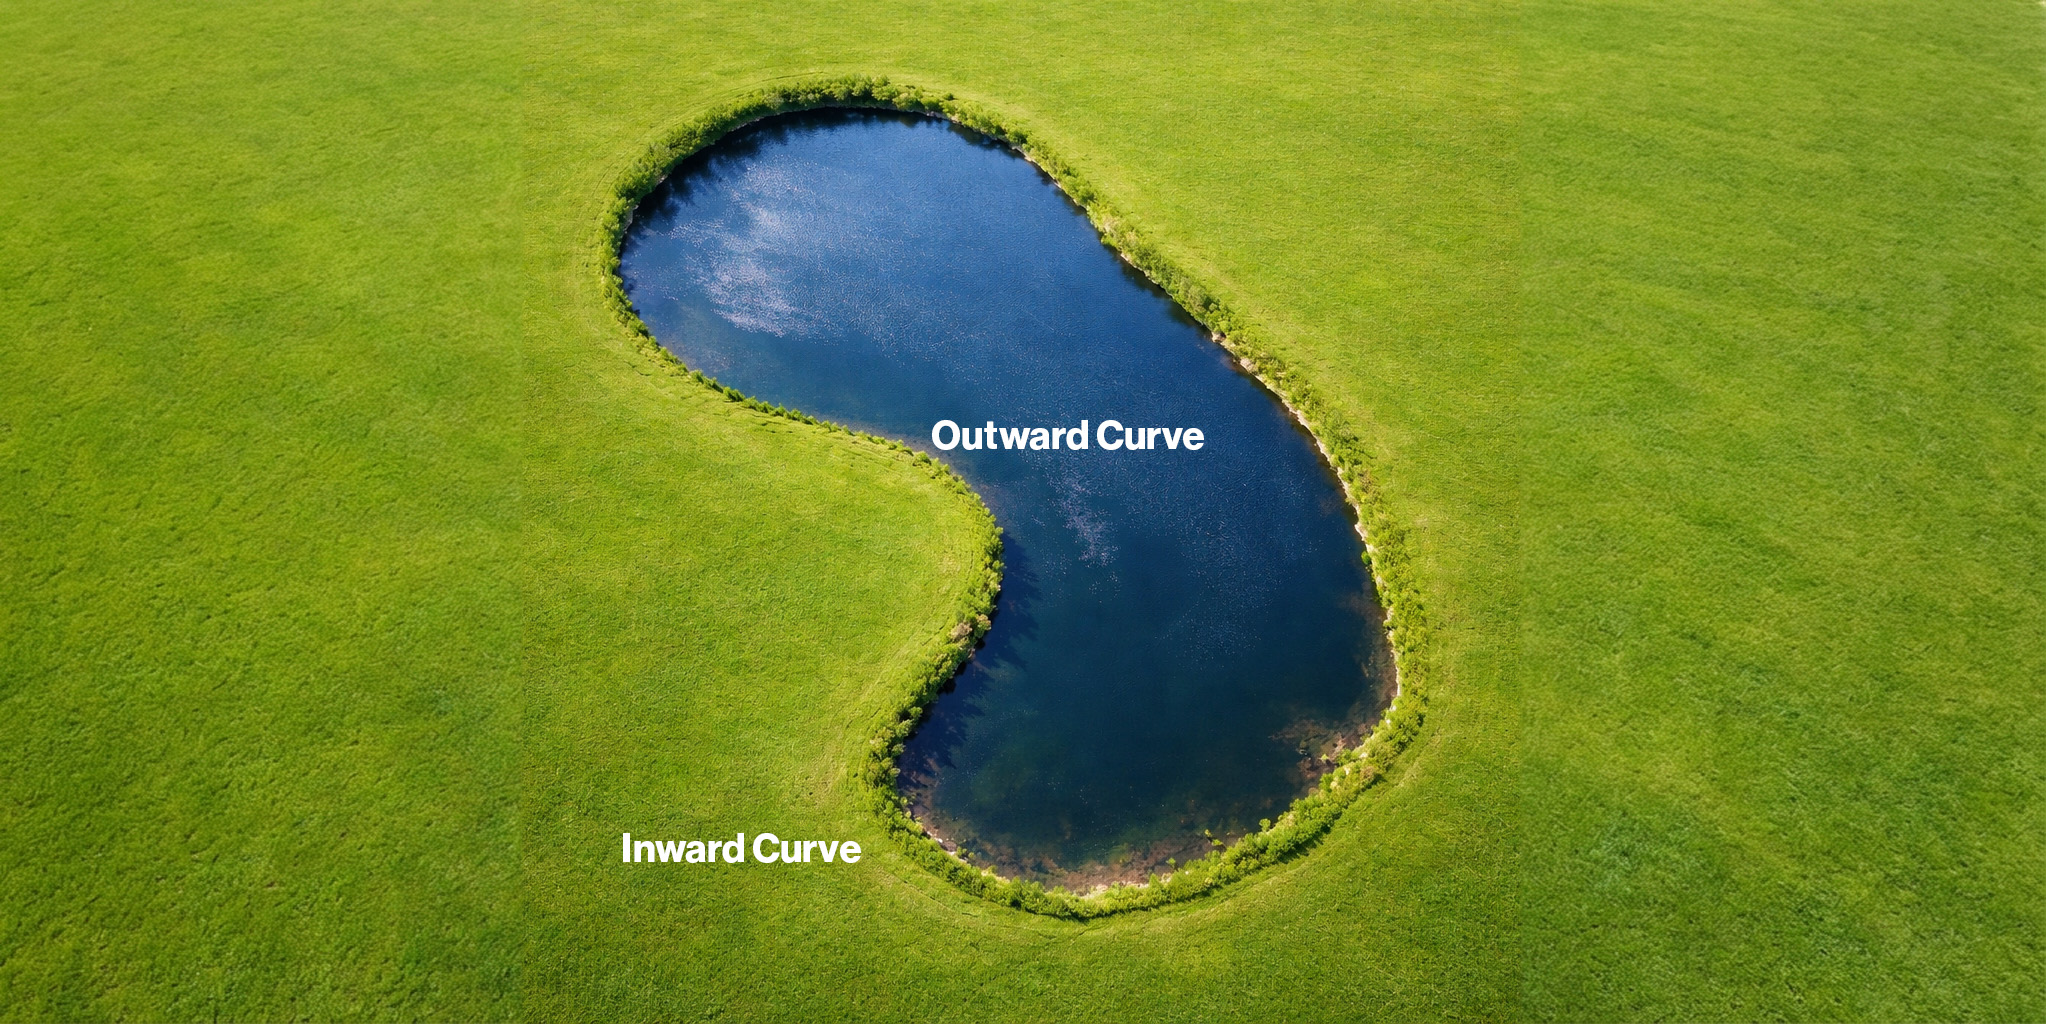
Tie less on straights more on curves
-
Think about how the rope channel will move when pulled tight.
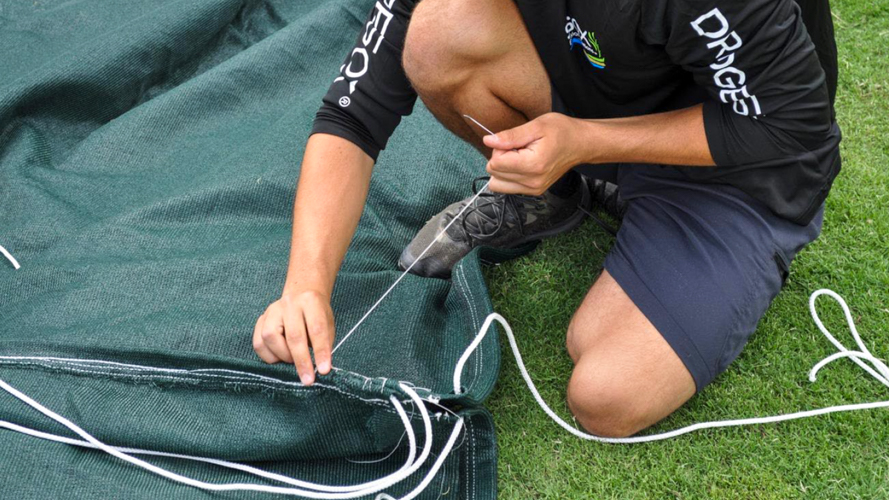
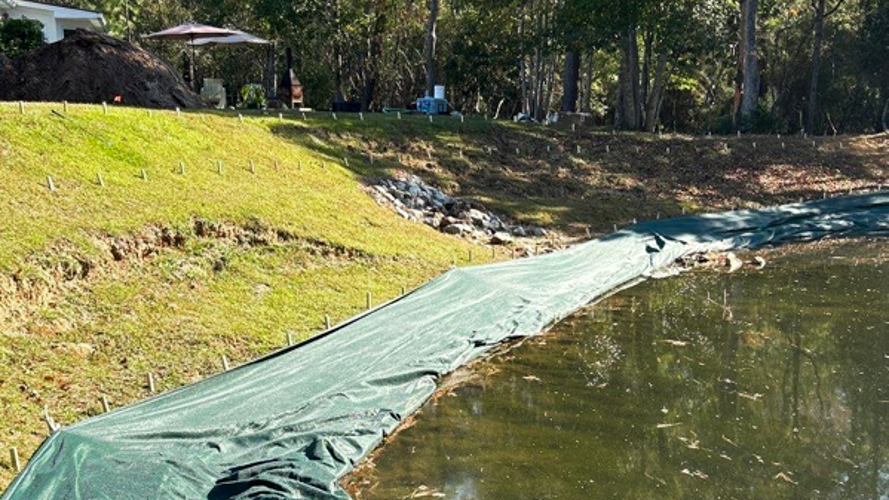
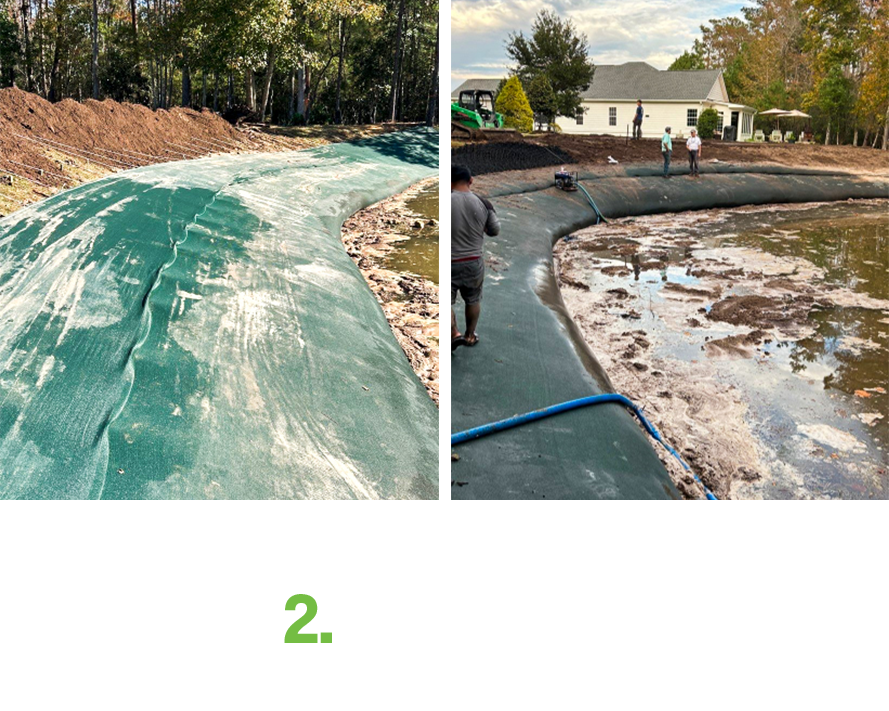
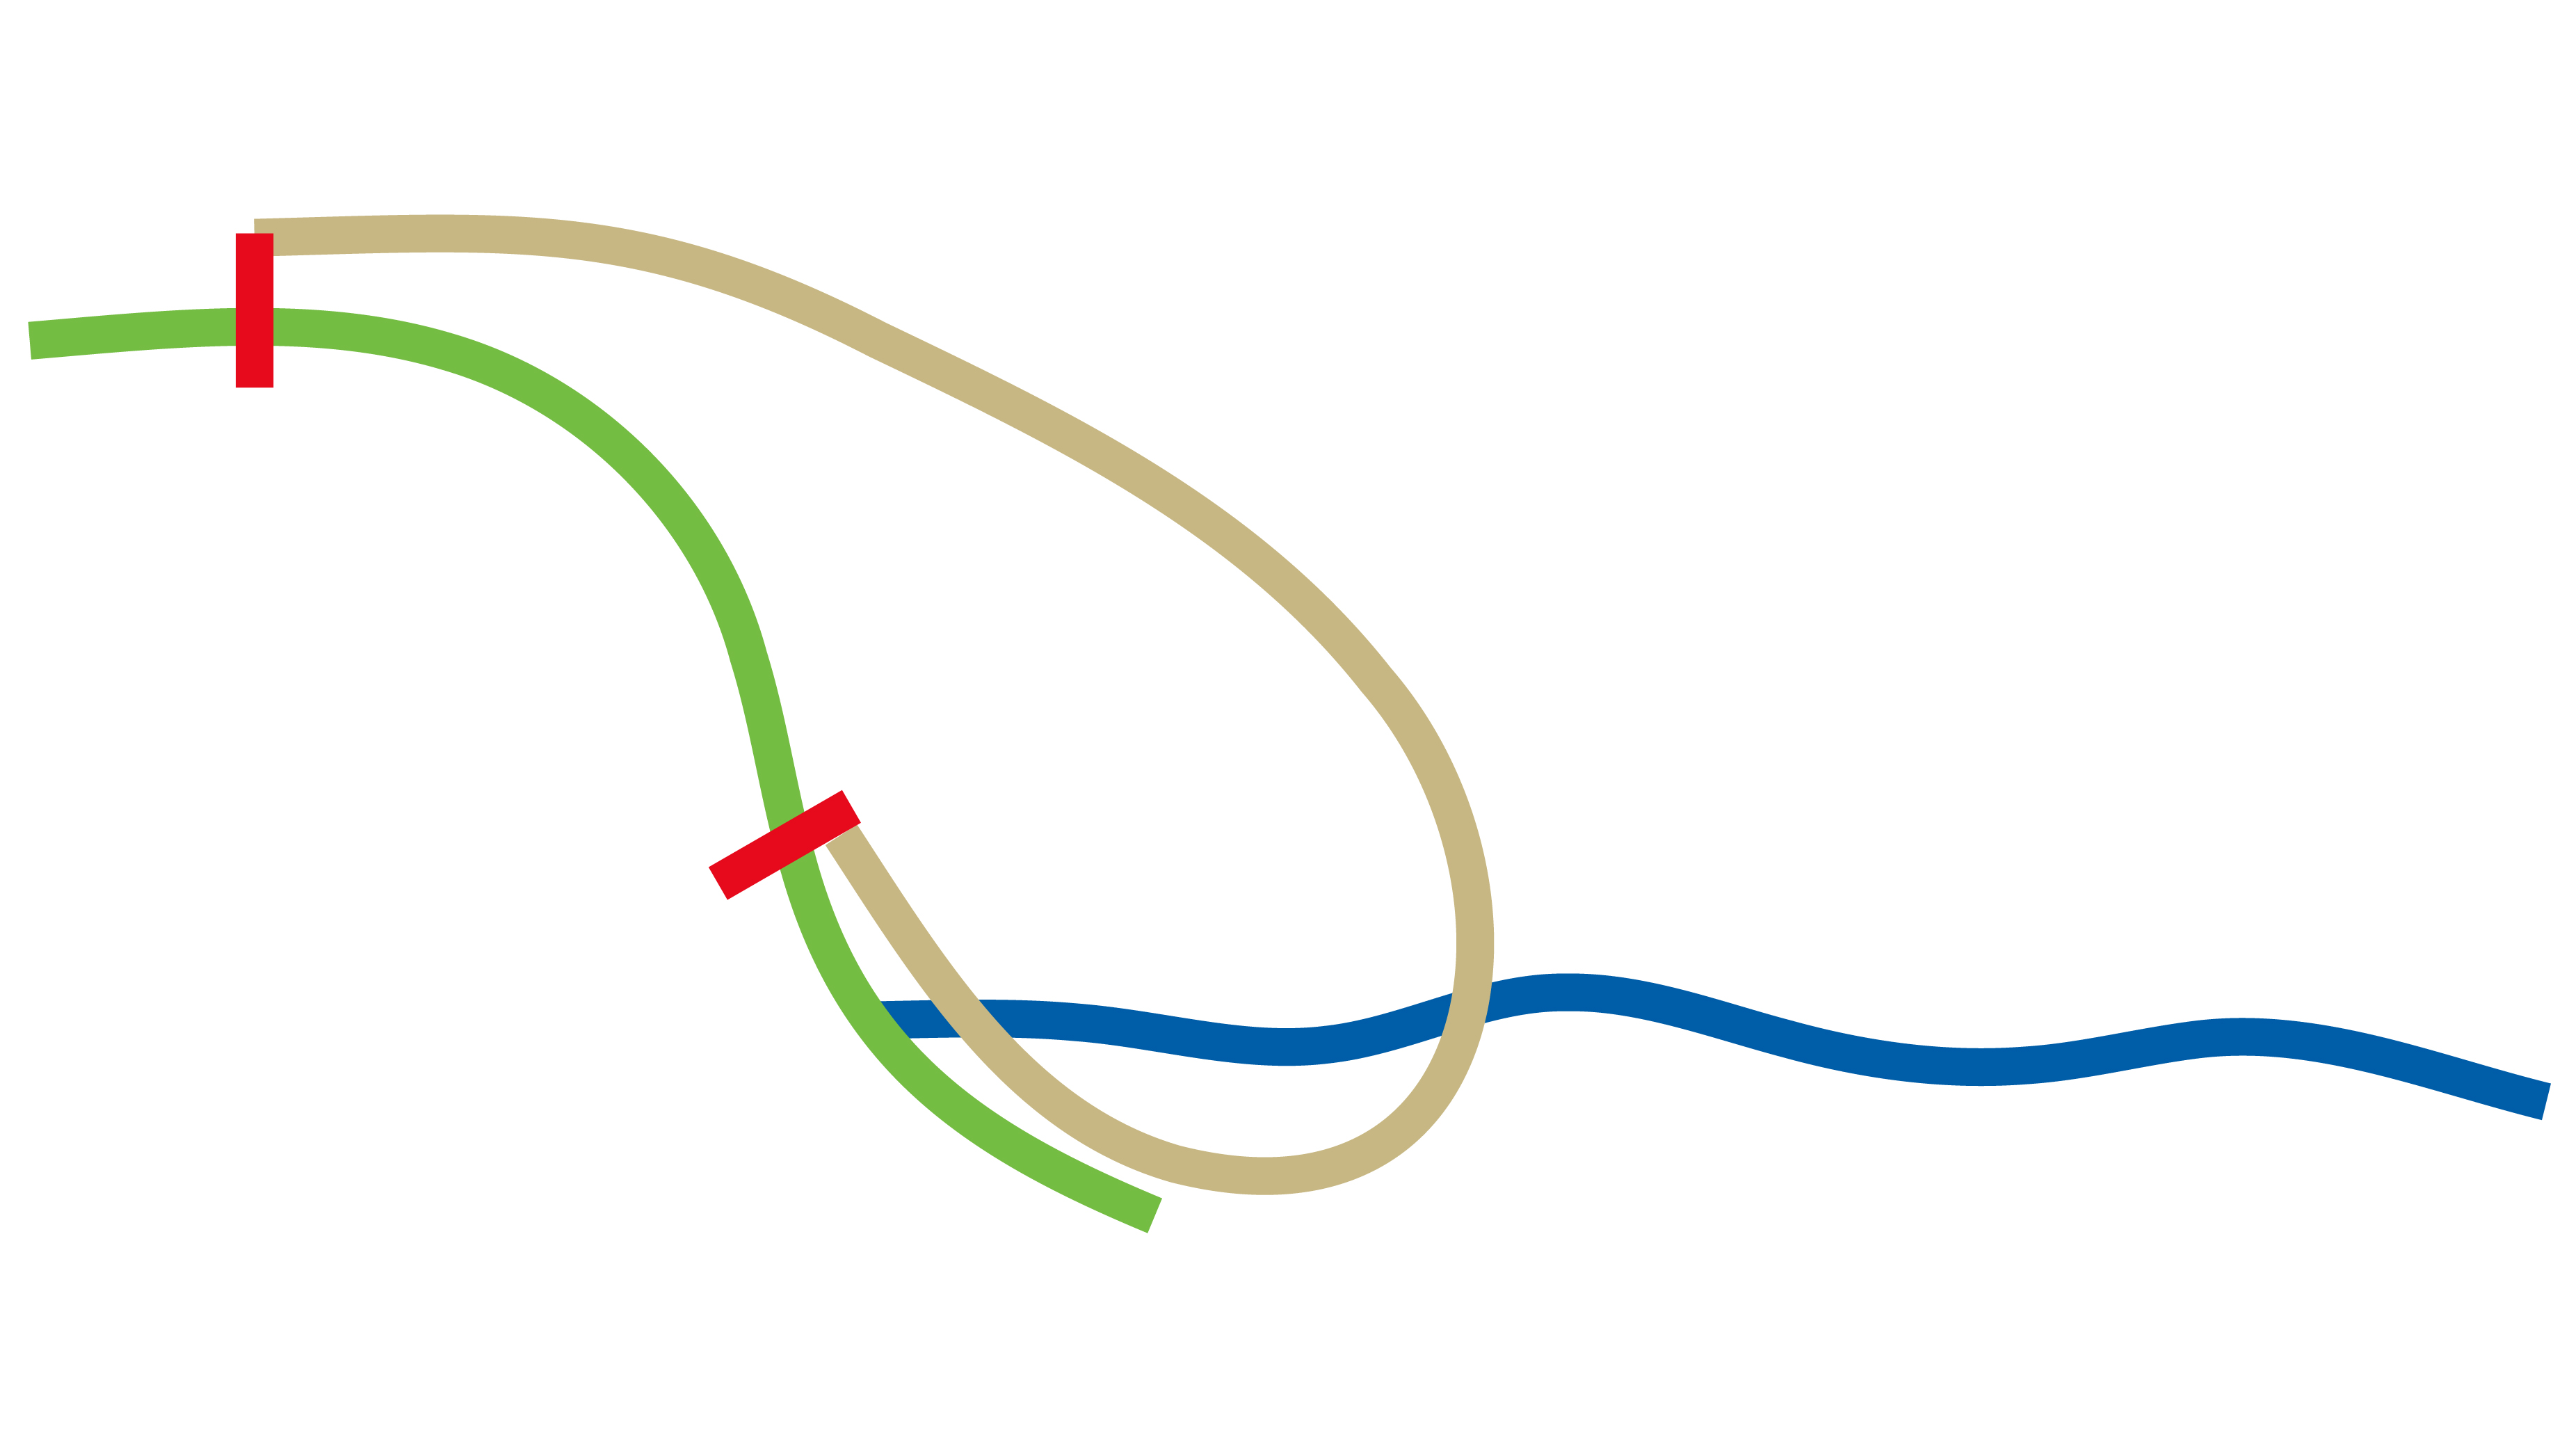
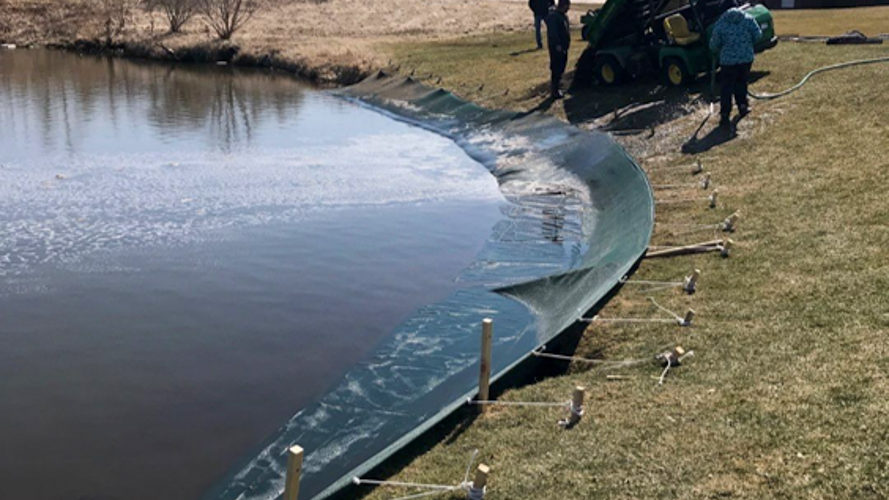
Tighten bottom rope channel
-
Make sure one end is anchored.
-
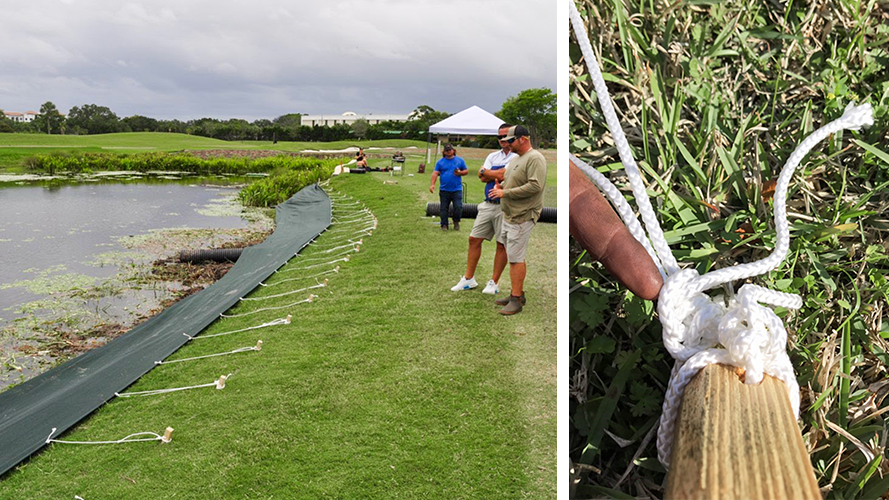
Lock mesh in place with correct knots.
-
Play Tug of War.
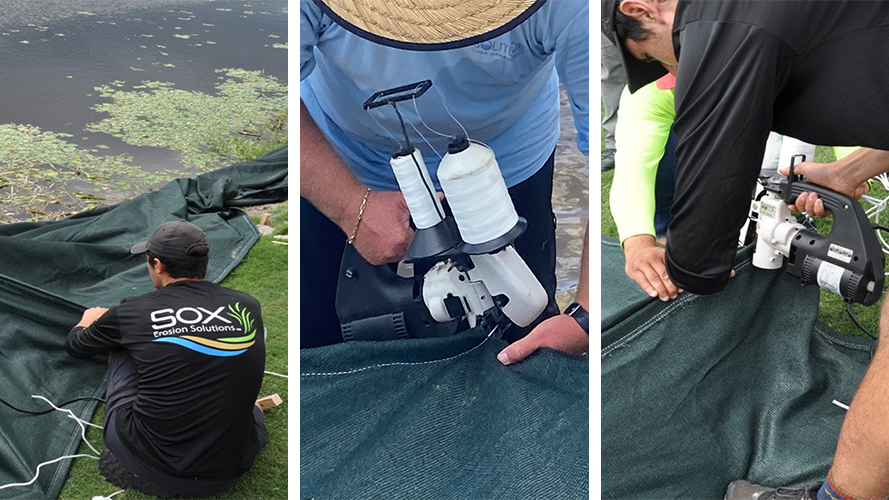
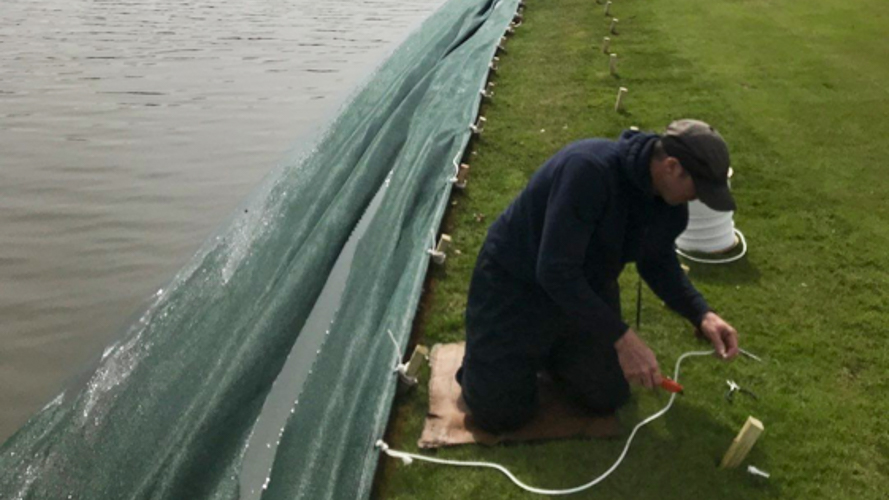
Completely Tether Bottom Rope Channel
-
Tie Bottom Rope Channel to every Bottom Anchor.
-
Tie Safety Lines from bottom rope channel to every other top anchor.
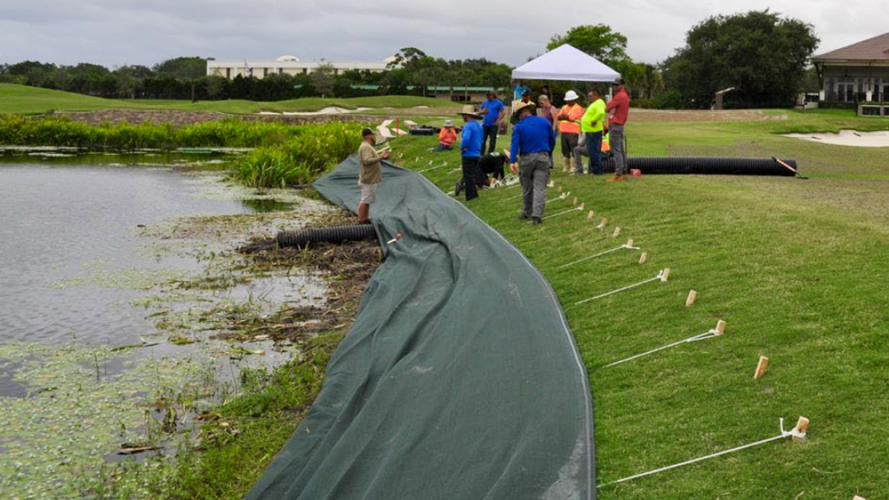


Fold Material and Set Top Rope Channel
-
Tie Up the least number of stakes while holding the mesh in place.
-
Use extra temporary stakes to hold mesh in place on outward curves.
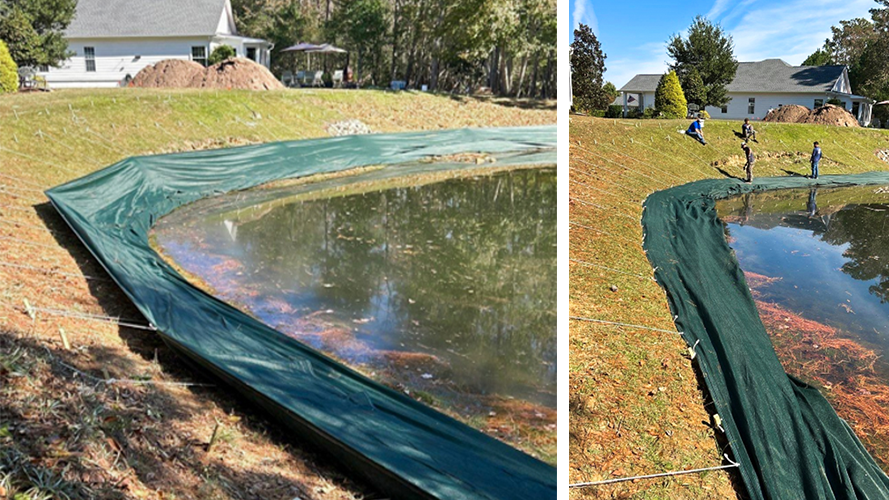
Tighten Top Rope Channel
-
Pull Top Rope Channel tight.
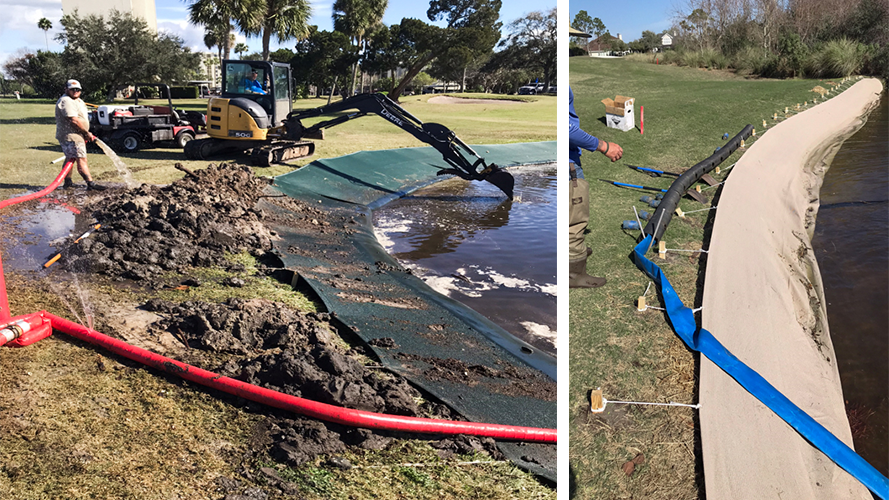
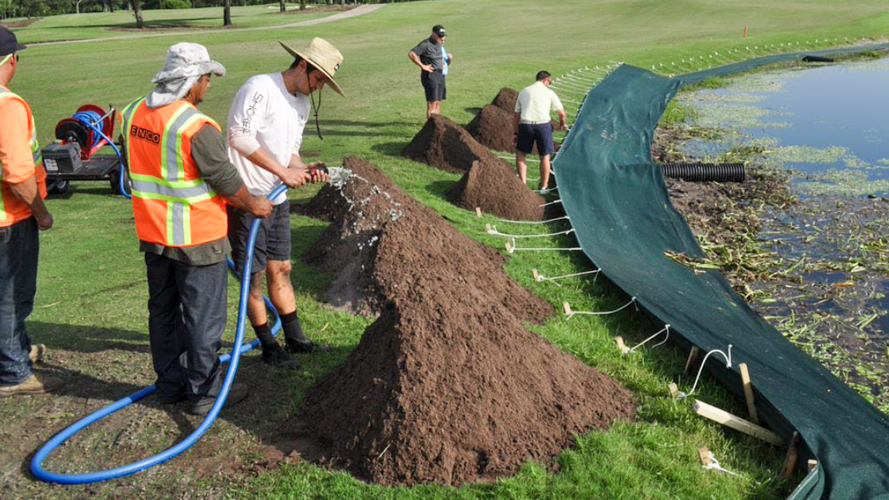

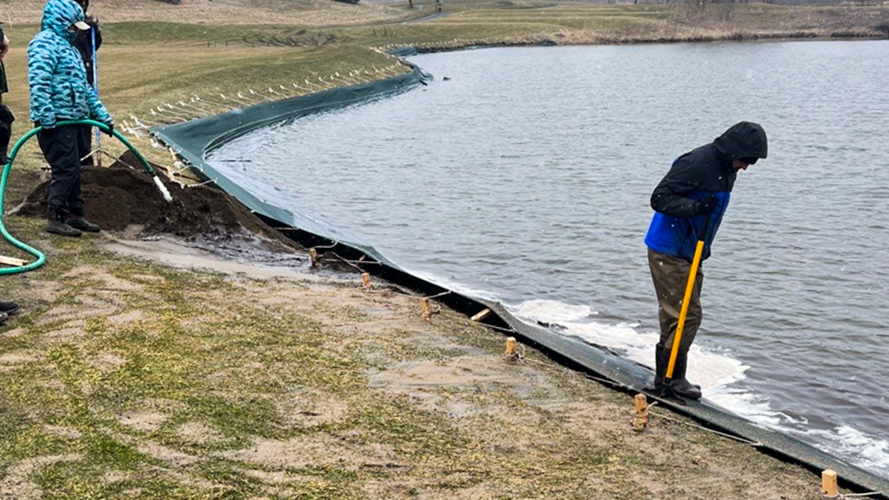

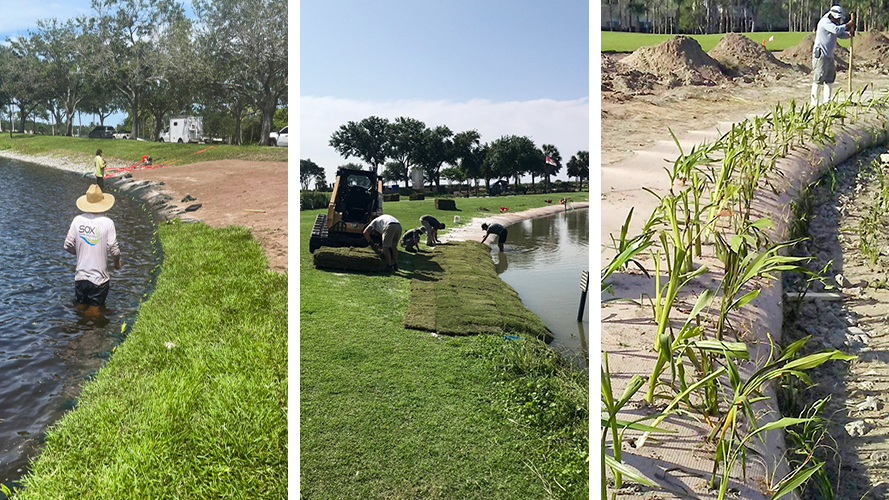
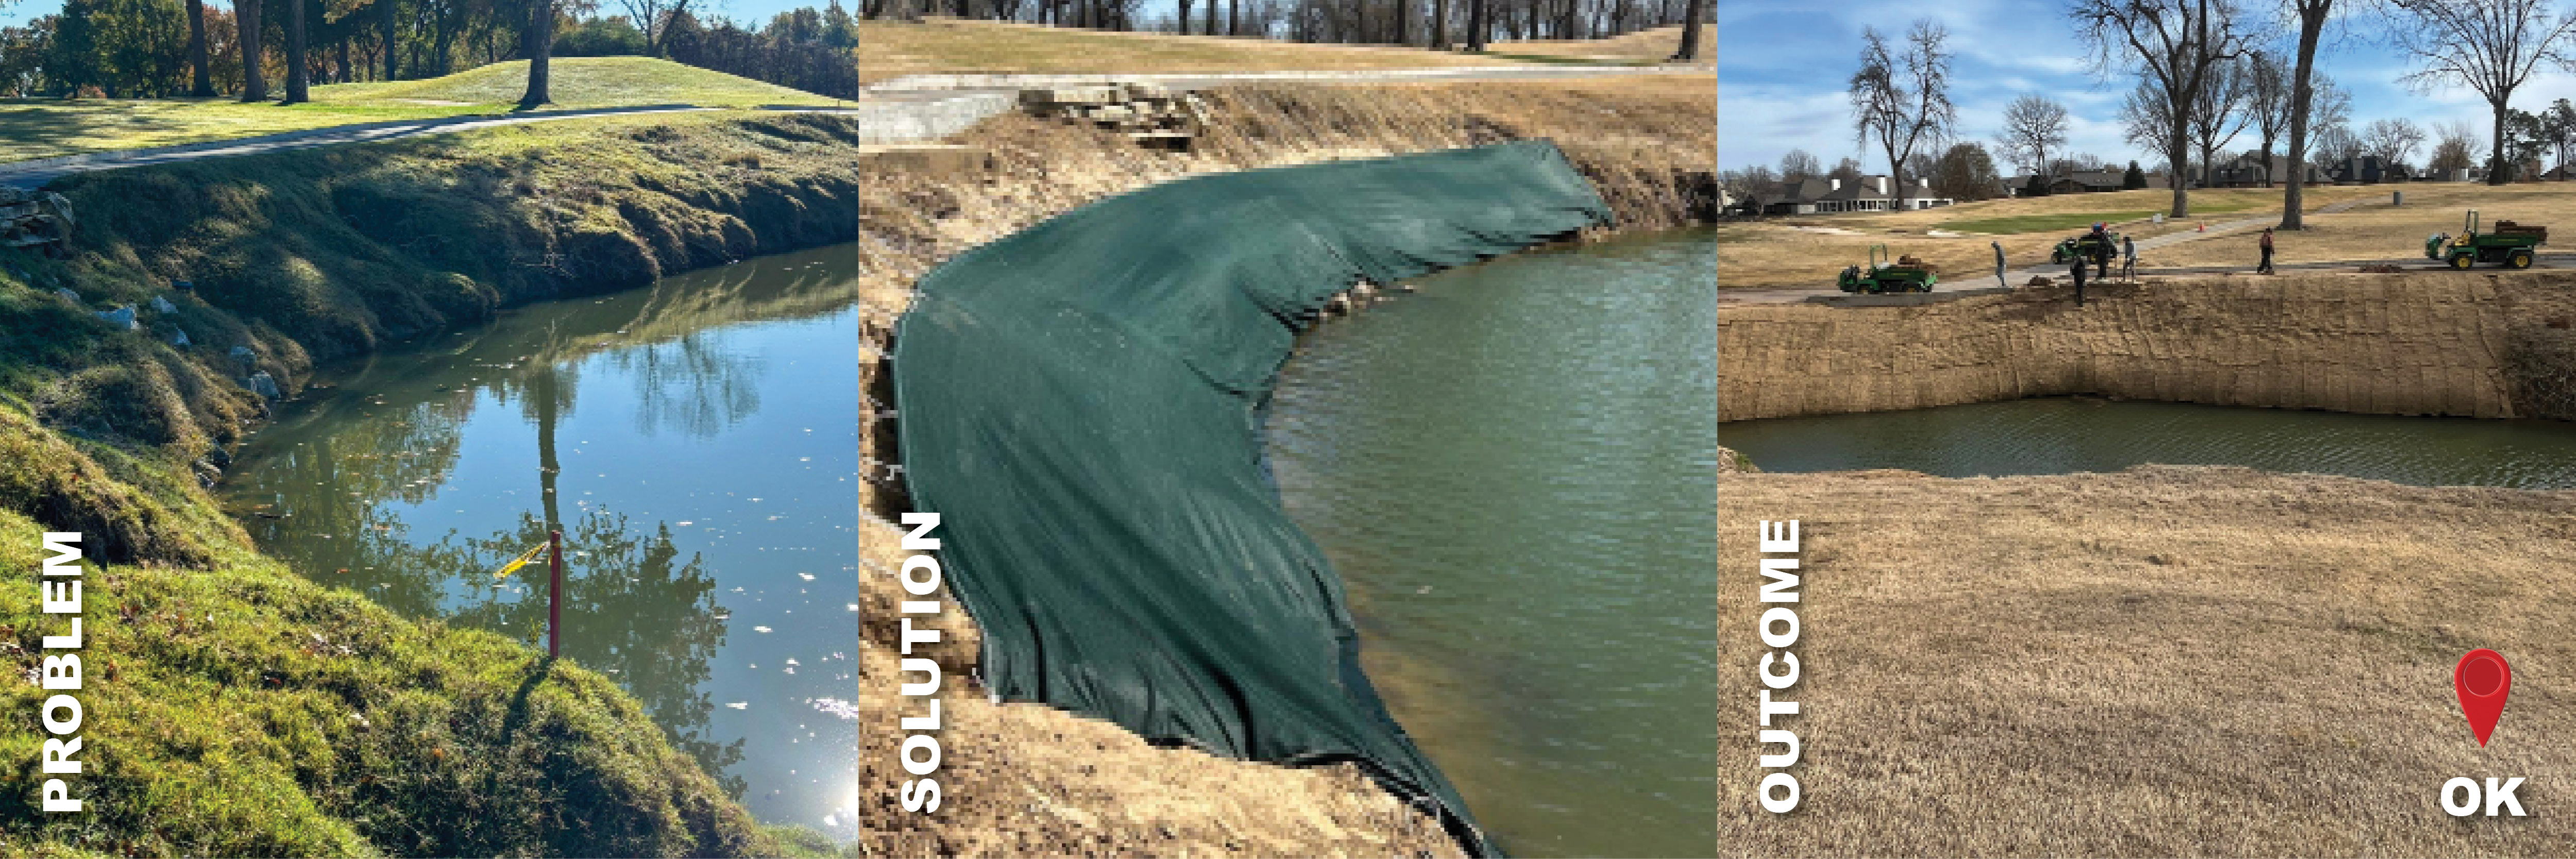
Import
-
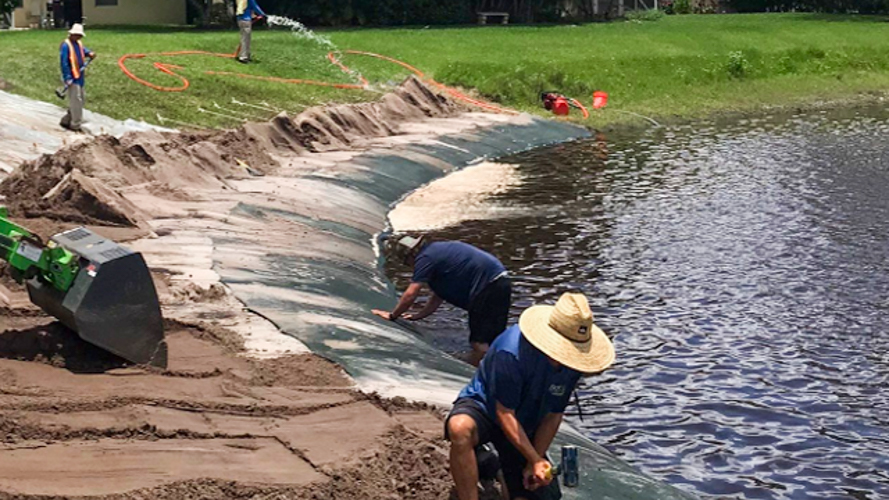
Import Dirt/Sand
- Stage fill material behind system
DREDGE
-
Dredge
- Hydro
- Mechanical